I think making quilts for Project Linus might be an addiction. Even when I don't really intend to do it, I end up doing it anyway. This time, I was acting out of guilt. See, a long time ago, someone donated some AWESOME blue and turquoise fabric to our local Project Linus chapter. This fabric was passed along to me to turn in to something amazing. I've been looking at it trying to decide what to do with it for, um, probably 4 years now.
Then, while browsing the last Bloggers' Quilt Festival photos, I found the perfect pattern. It's a paper piecing pattern by Sassafrass Lane Designs called Lombard Street. The problem was, it was such a huge pain in the tail and looked SO good when I got done that I didn't want to give it away. Instead, I just decided to trade a yard of QSQ fabric from my stash and make another (smaller) paper-pieced quilt to donate. So this is what some lucky kiddo is getting.
The one with the awesome blue and turquoise fabric is still waiting to be quilted and
bound. I'm planning to put cuddle fleece on it like I did with this one. I just ordered more 505 Spray Adhesive (very important, see below).
I decided to do a scrappy binding and (even though I'm historically not a
huge fan of scrappy bindings) I think it turned out pretty well. I
sewed around the outsides of all the triangles with my sewing machine.
There's no batting in this quilt...just minky on the back, so it's light
and summery.
And then, with the leftovers from the triangle quilt, I made this:
See how fabric-sheary and bubbly it looks? Yeah, THAT is what happens when you use cuddle fleece on the back of a quilt and don't use spray adhesive to stick the layers together first. Ohhh well. Live and learn.
Sunday, September 1, 2013
Friday, May 17, 2013
Blogger's Quilt Festival: Out of hiding...
I'm coming out of blogger hiding again for the Blogger's Quilt Festival. Sad that it takes the remote chance of willing a prize to get me to post, huh?. But in my defense, I have been busy since the last festival...being pregnant, having the flu while pregnant, having a ruptured eardrum, recovering, having a baby, nursing said baby...I also quilted like CRAZY to get some UFOs done and sent to my amazing sister to quilt on her long-arm. Now I just need to get them bound and photographed so I can show them off properly.
Between all the winter illness and the arrival of our new little cutie (whom I am now feeding while typing this one-handed), I got a lovely little package in the mail...a bunch of my quilts, beautifully quilted and ready to be bound. I made this quilt to test a pattern for my sister. In return, she agreed to quilt it for me (she did all the others out of pure sisterly love and awesomeness). I backed this quilt with minky and was THRILLED with how it turned out. I gave it to one of my sisters-in-law as a baby present but it was super hard not to keep it for myself!
And there you have it. I tried really hard to get good photos of the quilting but, alas, my photography skills and camera were not up to the challenge.
Between all the winter illness and the arrival of our new little cutie (whom I am now feeding while typing this one-handed), I got a lovely little package in the mail...a bunch of my quilts, beautifully quilted and ready to be bound. I made this quilt to test a pattern for my sister. In return, she agreed to quilt it for me (she did all the others out of pure sisterly love and awesomeness). I backed this quilt with minky and was THRILLED with how it turned out. I gave it to one of my sisters-in-law as a baby present but it was super hard not to keep it for myself!
And there you have it. I tried really hard to get good photos of the quilting but, alas, my photography skills and camera were not up to the challenge.
Enjoy the festival!
Wednesday, October 31, 2012
Bloggers' Quilt Festival: Branching out
Happy Bloggers' Quilt Festival!
This is a little quilt I whipped up using some chenille my friend gave me. There's a LOT more chenille where this came from, so I'm slowly working my way through it. I decided to branch out and put some fabrics together that I normally wouldn't. And I have to say, it turned out MUCH cuter than I thought it would. This quilt is probably headed for Project Linus...hope some little girl enjoys it!
I only used fabric from my stash on this one and was thrilled at how well the backing and chenille (and yellow dotty and pink striped stuff) all tied together.
Thanks for visiting! Hope you enjoy the Festival!
This is a little quilt I whipped up using some chenille my friend gave me. There's a LOT more chenille where this came from, so I'm slowly working my way through it. I decided to branch out and put some fabrics together that I normally wouldn't. And I have to say, it turned out MUCH cuter than I thought it would. This quilt is probably headed for Project Linus...hope some little girl enjoys it!
I only used fabric from my stash on this one and was thrilled at how well the backing and chenille (and yellow dotty and pink striped stuff) all tied together.
Blogger’s Quilt Festival Stats
Finished quilt measures : 41″x 48″
Special techniques used : the quick and dirty sew it and quilt it all at once method :D
Quilted by : Allison
Best Category : Baby quilt
Thanks for visiting! Hope you enjoy the Festival!
Friday, October 19, 2012
My first fun with "thangles"
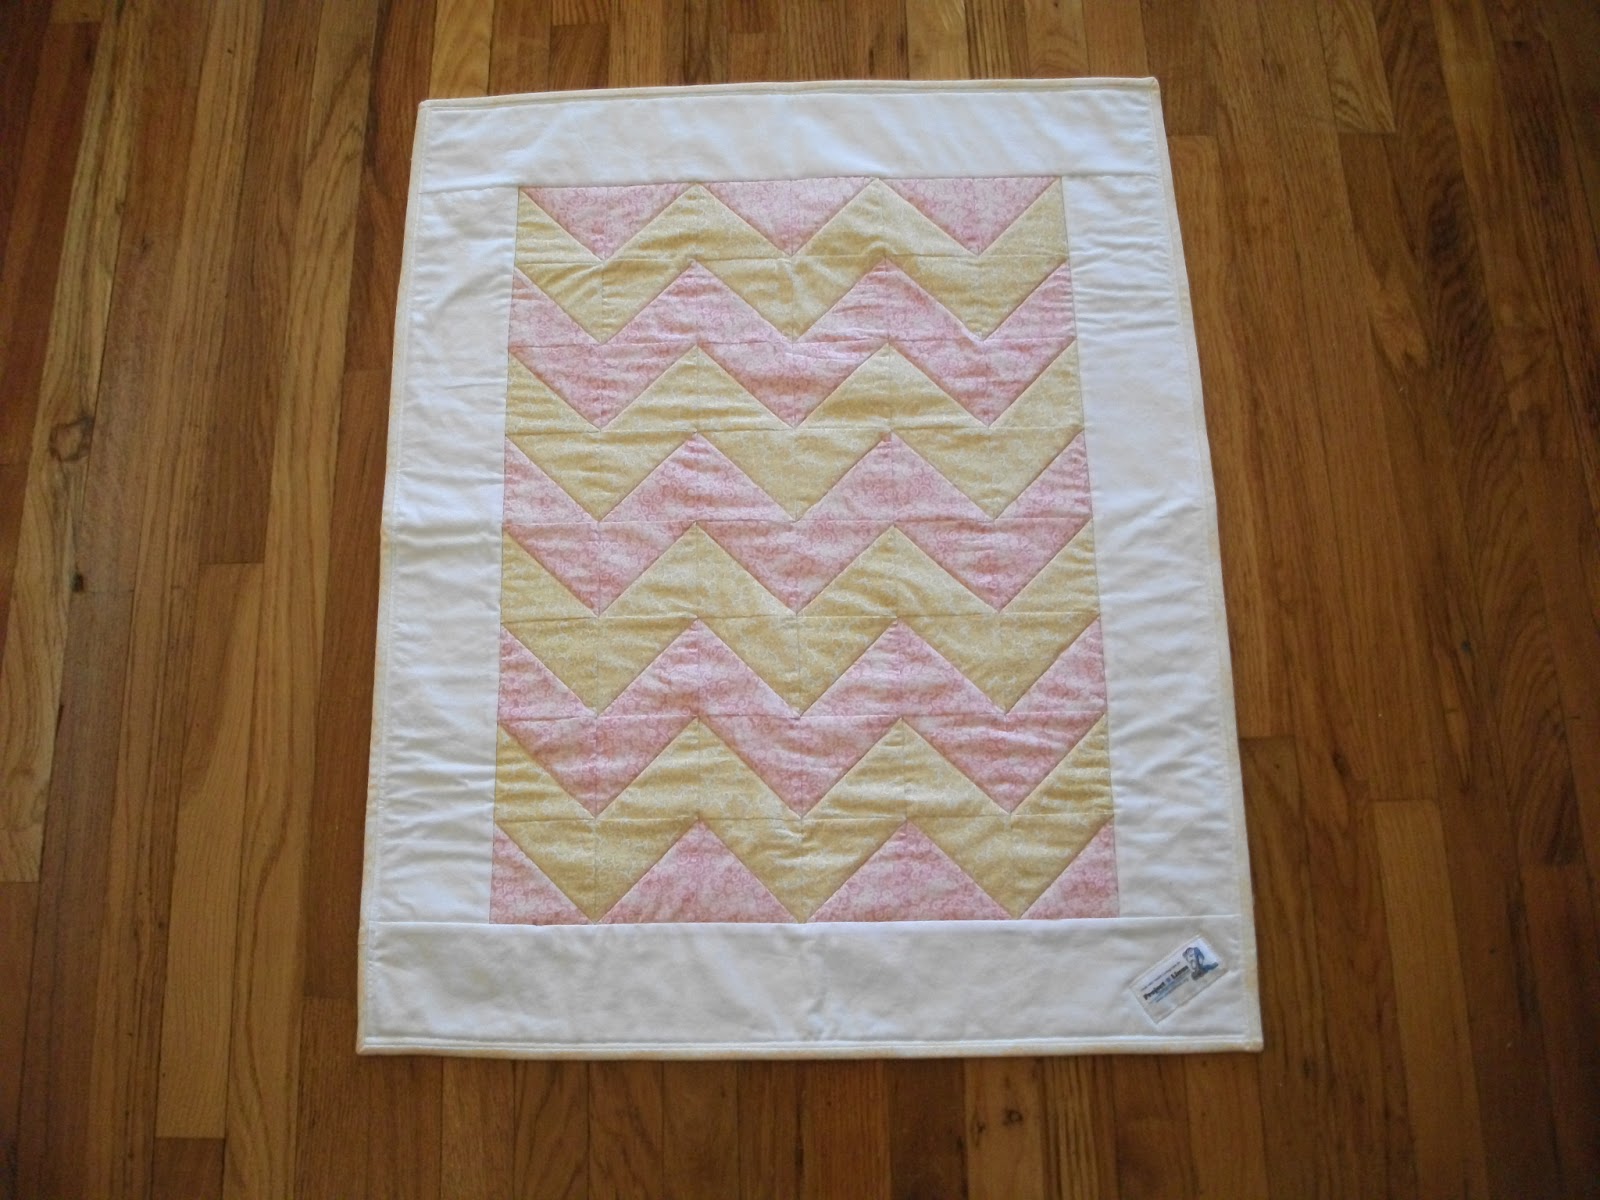
I have this thing about using up small-ish amounts of fabric (especially fabric that isn't mine). I think the pink and yellow was donated to our Project Linus chapter...not sure...doesn't really matter. At any rate, I had some leftovers from another project a long time ago and this is what I decided to do with it (it looked much cooler before it sat folded up on my sewing table for 6 months). It was my first-ever use of "thangles," despite the fact that they've been sitting in my drawer for a few years now (and my cute sister gave me a Triangulations CD, which is basically the same concept but printable from your computer, years before that). I have to admit, I found it very amusing to sew them. And, it made me want to paper-piece something in the near future.
This quilt looks MUCH better in person than it does in photos. Maybe it's because I just threw it on the floor and couch and snapped some quick shots? :)
Monday, October 15, 2012
Better late than never :D
Ok, wow. So, it's been a really really long time since I last posted. I have a bunch of quilts I want to get out from under foot and/or off of my teeny tiny sewing table....so I figured I'd better start posting! Here is the first of them.
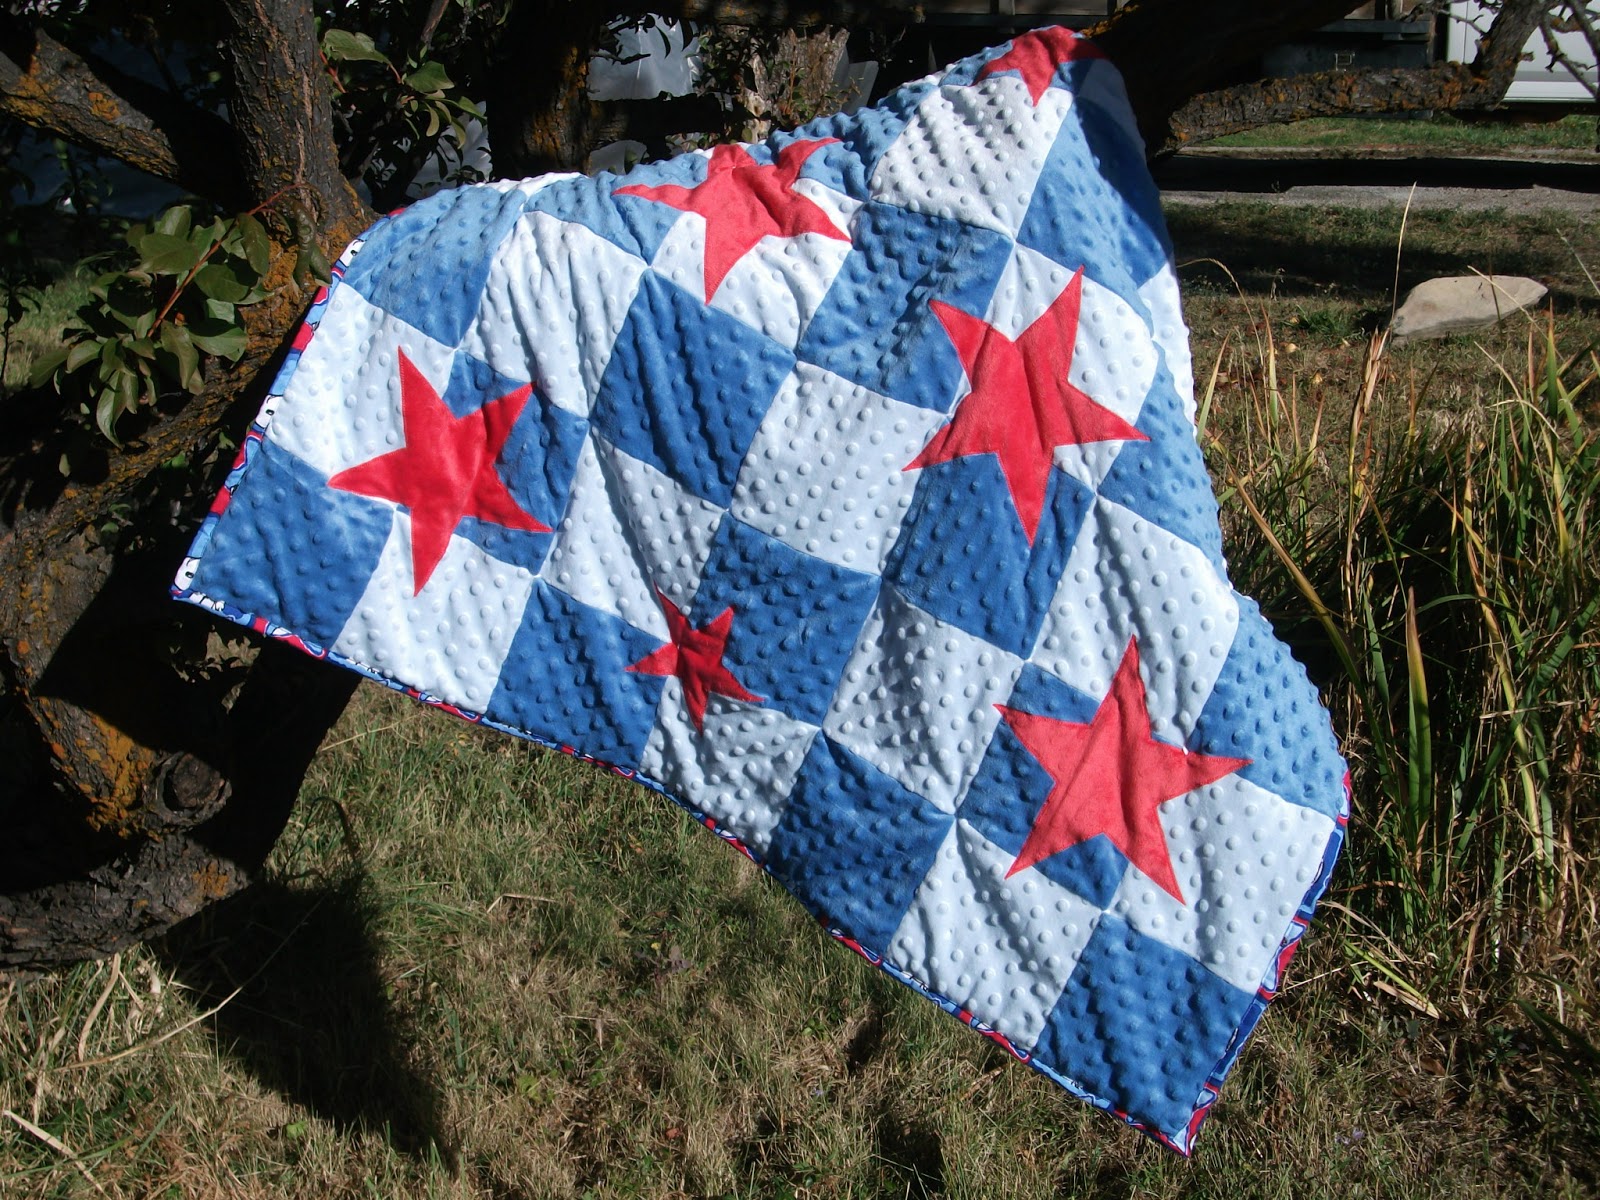
This is the quilt I just made for my new(-ish) nephew (who is probably crawling by now).
Better late than never, though, right?
Before making this quilt, I had never attempted to piece minky. It was, shall we say, interesting. After I sewed my rectangles in to rows, I thought, "What's the big deal with minky? This isn't THAT bad to sew." Yeah...then I sewed the rows together and I understood. S-t-r-e-a-t-c-h-y. Yikes. My walking foot kept freaking out and skipping stitches (though that may have been a machine-cleaning and maintenance issue).
In the end, it all turned out okay and I even had some fun adding some applique
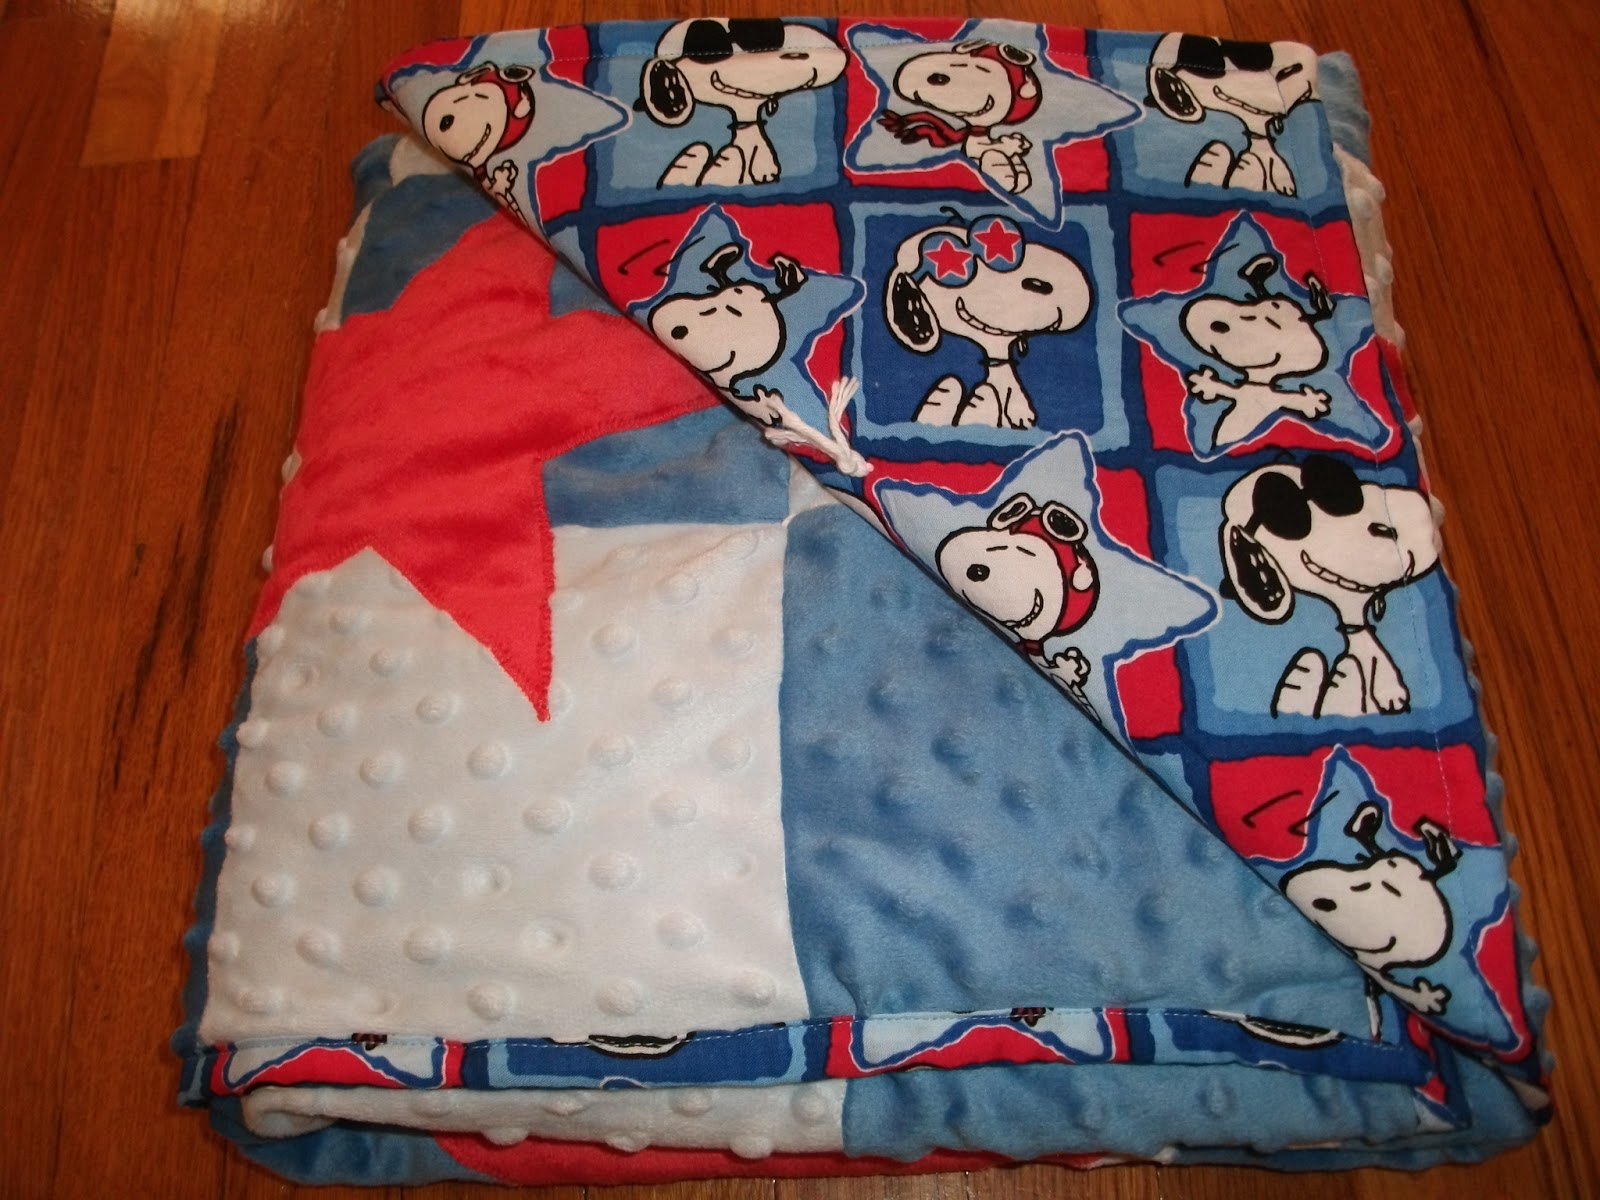
stars which happened to match the backing perfectly.
I made the stars out of ironed bumpy minky (which I guess would just make it minky, then, huh?) Anyway...mostly I ironed it because I was curious about exactly why one quilt shop I visited about five years ago had a billion signs around their store that said DO NOT IRON BUMPY MINKY. And you know how I am...I've though about those signs every time I've encountered minky for the past five years. And then...I ironed it! It ended up working out splendidly for my application.
And I really love how the red stars tie the minky side together with the backing.
Sunday, July 15, 2012
My kitchen curtains--Before and After
One of my little sisters got me interested in Before-and-After furniture refinishing blogs last summer. And while I still have no big plans to refinish any dressers or curio cabinets any time in the near future (and forgot to take a before picture of grandma's bench that we're slowly working on sprucing up)...I DID take before and after pictures of my kitchen curtains.
After we got married, I moved in with my husband. The curtains that were in the kitchen weren't quite my cup of tea, so I headed on down to Walmart and spent $7 on these little babies. I was soooo worried that my after all my efforts, my curtain choice wouldn't be ok with my new husband (after all, the curtains I took down belonged to his mother). Ha! I shouldn't have worried. He didn't even notice I'd changed them until I pointed it out.
After a good, long life of almost 7 years, I decided the Walmart curtains were ready to move out into the garage. To be replaced by...Blue and white stripes! (That way, they would still coordinate with all the red stuff I have for my kitchen). Unfortunately, or fortunately, depending on how you look at it, there was nothing even remotely striped in the premade curtain section of any store I checked, so I decided to just make them myself. I had a heck of a time finding material (I was looking in January so there were lots of pinks and reds and hearts for Valentine's but very little in the way of blue and white stripes). I eventually did find this fabric (which I do not know the name or designer of because that's just one more thing to have to remember and think about and it's not really that important to me...something about a lakehouse maybe?) at Pine Needles in Gardner Village. I only mention that because Gardner Village has a pond with ducks. And little kids who are being dragged from fabric store to fabric store in search of the elusive blue and white stripe in the middle of January really really like watching ducks.
After we got married, I moved in with my husband. The curtains that were in the kitchen weren't quite my cup of tea, so I headed on down to Walmart and spent $7 on these little babies. I was soooo worried that my after all my efforts, my curtain choice wouldn't be ok with my new husband (after all, the curtains I took down belonged to his mother). Ha! I shouldn't have worried. He didn't even notice I'd changed them until I pointed it out.
Before. Sorry for the angle, here. But before pictures are supposed to look bad, right? ;) Note how the curtains aren't even long enough for the window.
After a good, long life of almost 7 years, I decided the Walmart curtains were ready to move out into the garage. To be replaced by...Blue and white stripes! (That way, they would still coordinate with all the red stuff I have for my kitchen). Unfortunately, or fortunately, depending on how you look at it, there was nothing even remotely striped in the premade curtain section of any store I checked, so I decided to just make them myself. I had a heck of a time finding material (I was looking in January so there were lots of pinks and reds and hearts for Valentine's but very little in the way of blue and white stripes). I eventually did find this fabric (which I do not know the name or designer of because that's just one more thing to have to remember and think about and it's not really that important to me...something about a lakehouse maybe?) at Pine Needles in Gardner Village. I only mention that because Gardner Village has a pond with ducks. And little kids who are being dragged from fabric store to fabric store in search of the elusive blue and white stripe in the middle of January really really like watching ducks.
After: my new blue and white stripey curtains! Love them to bits!
Incidentally, if my kitchen actually looked this good all the time, it would be truly amazing. Of course, that would probably also mean that we never use it...or that I had a maid. Hmmm...a maid might be nice. More time to quilt. :)
Tuesday, June 19, 2012
What I did with my leftovers
Okay. I have a whole list of things I need to post on my blog and get off my to-do list (and out of my head). I've been procrastinating even starting this but I have no idea why...it's not like it takes that long to make a blog post. I have the pictures all ready to go and everything. Anyway...after I got done with the 3-D quilt, it occurred to me that I couldn't very well give a blanket to the baby without giving one to big sister. Also, I seem to have an aversion to scraps. It's like somewhere in the back of my mind I know they're sitting there waiting for me to sew them in to something creative and magnificent. Sometimes, I just throw them away so I don't have to worry about it any more. So before the binding was even on the 3-D quilt, I was trying to cook up how to use the leftovers it created. And here's what I came up with.
I wish I would have had enough fabric left to do something cool on the corners, but when it was all said and done, all I had left was a little piece of black. How's that for cutting it close? :)
Subscribe to:
Posts (Atom)